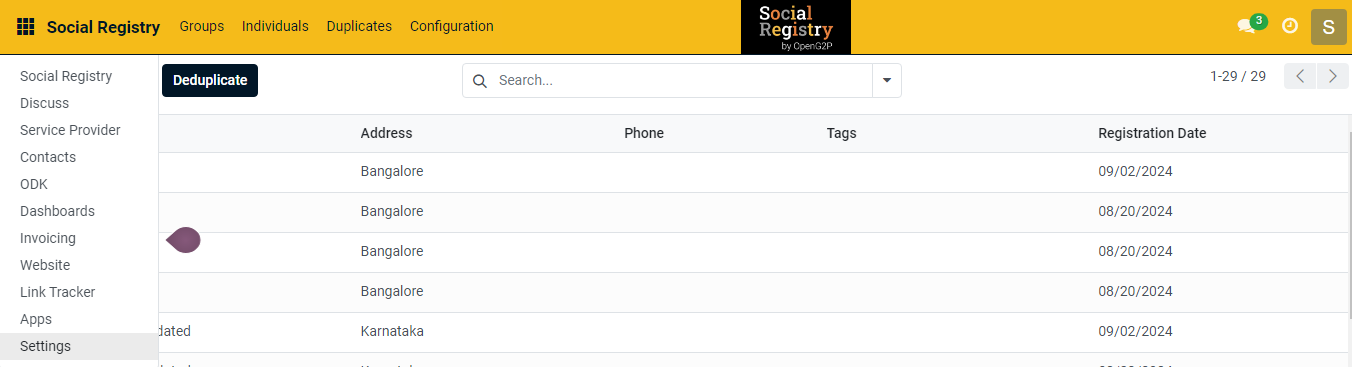

.png?alt=media)
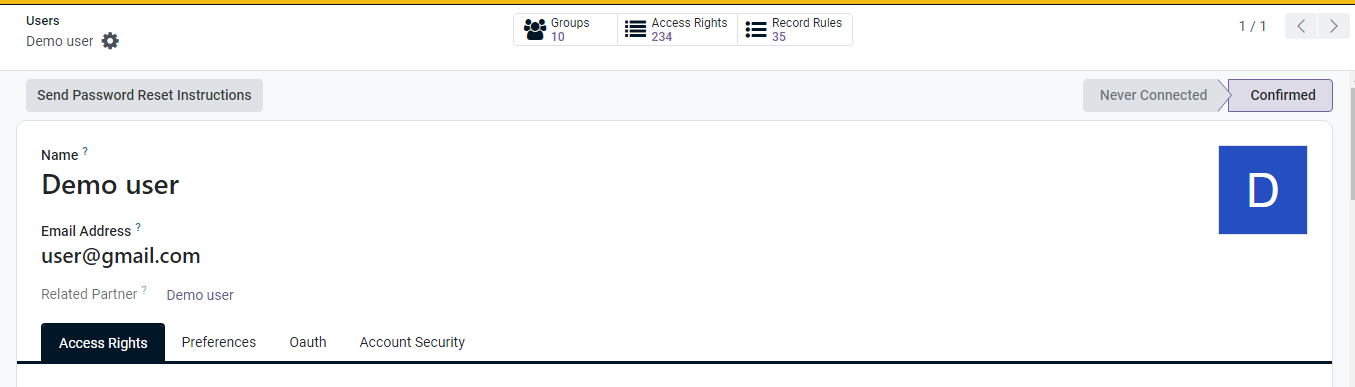
| USER TYPE | |
| User types | Select the appropriate user types. The valid values are:
|
| ACCOUNTING | |
| Retain the default values. |
| WEBSITE | |
| Website | Retain the default values. |
| ADMINISTRATION | |
| Administration | Select the appropriate values. The valid values are:
Note: The Settings option must be chosen from the drop-down only for the Administrator role. |
| OTHER | |
| Retain the default values. |
| OPENG2P MODULE ACCESS | |
| Administrator | Check the box, if the user needs to be assigned as a Administrator role. |
| Registrar | Check the box, if the user needs to be assigned as a Registrar role. |
| OPENG2P SECURITY MODULE | |
| Crypto Admin | When the user installs the Security module, the Crypto Admin option is checked as needed. |
| Crypto Dummy | When the user installs the Security module, the Crypto Dummy option is checked as needed. |
| OPENG2P DOCUMENTS MODULE | |
| Document Admin | When the user installs the Documents module, the Document Admin option is checked as needed. |
| Document Write | When the user installs the Documents module, the Document Write option is checked as needed. |
| Document Read | When the user installs the Document module, the Document Read option is checked as needed. |
| OPENG2P REST API | |
| Rest API GET | The Rest API GET option is checked, if the authenticated/authorised user accesses the OpenG2P Rest API as needed. |
| Rest API POST | The Rest API POST option is checked, if the authenticated/authorised user accesses the OpenG2P Rest API as needed. |
| TECHNICAL | The options listed below this section are out-of-the-box Odoo options. Select the appropriate options from the list as needed. Note: Mostly the options Access to export feature and Mail Template Editor are checked. |
| FASTAPI | The options listed below this section are checked only for the authenticated/authorised user who has access to the FAST API as needed. |
| EXTRA RIGHTS | The options listed below this section are checked for the user who needs access to extra options. Note: Mostly the option Contact Creation is checked. |
| OTHER | The options listed below this section are checked for the user who needs access to other options. Note: Mostly the option Bypass HTML Field Sanitize is checked. |
 |
| Select the appropriate value. The available values are:
 | Save the data and exit from the screen. |
|
| Save the data and exit from the screen. |
|  | Discard changes and exit from the screen. |
Now that the Administrator has granted access permissions in Settings, the user can utilise the module as intended.
---
# Agent Instructions
This documentation is published with GitBook. GitBook is the documentation platform designed so that both humans and AI agents can read, navigate, and reason over technical content effectively. Learn more at gitbook.com.
## Querying This Documentation
If you need additional information that is not directly available in this page, you can query the documentation dynamically by asking a question.
Perform an HTTP GET request on the current page URL with the `ask` query parameter, and the optional `goal` query parameter:
```
GET https://docs.openg2p.org/1.3/social-registry/features/administration/user-guide/assign-a-role-to-a-user.md?ask=
| Discard changes and exit from the screen. |
Now that the Administrator has granted access permissions in Settings, the user can utilise the module as intended.
---
# Agent Instructions
This documentation is published with GitBook. GitBook is the documentation platform designed so that both humans and AI agents can read, navigate, and reason over technical content effectively. Learn more at gitbook.com.
## Querying This Documentation
If you need additional information that is not directly available in this page, you can query the documentation dynamically by asking a question.
Perform an HTTP GET request on the current page URL with the `ask` query parameter, and the optional `goal` query parameter:
```
GET https://docs.openg2p.org/1.3/social-registry/features/administration/user-guide/assign-a-role-to-a-user.md?ask=