

📔Create Eligibility Manager under Program
Description
This guide provides step-by-step instructions to create and configure the Eligibility Manager under the Program module.
Prerequisites
A user should have a Program Manager role to create a Eligibility Manager under program.
Note:
Refer Create User and Assign Role user guide to know how to assign role for a User.
Procedure
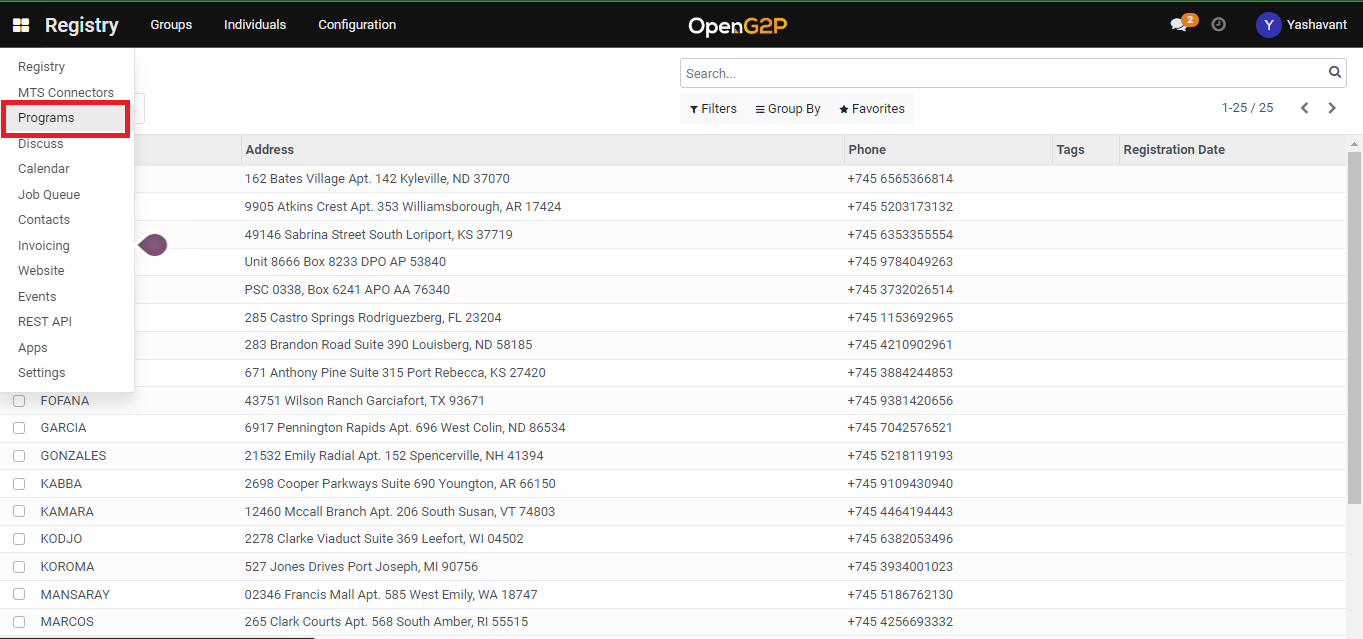
Click the main menu icon
 and select Programs.
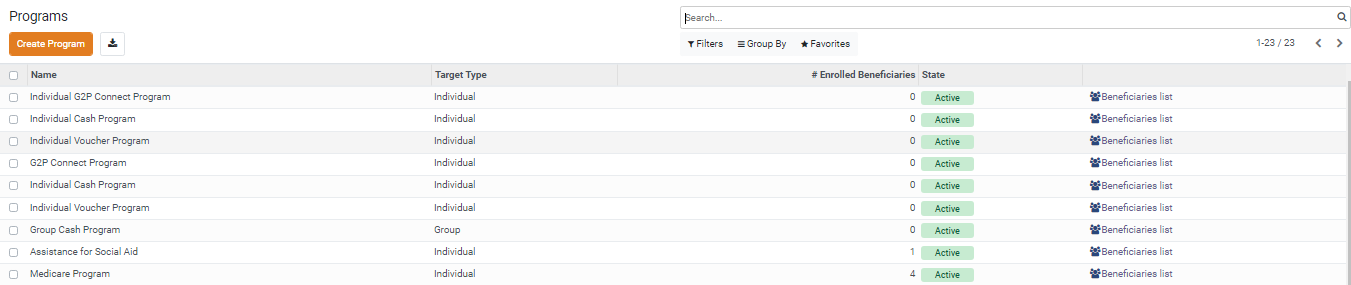
The Programs screen is displayed.
Click the program name for which configuration to be done.
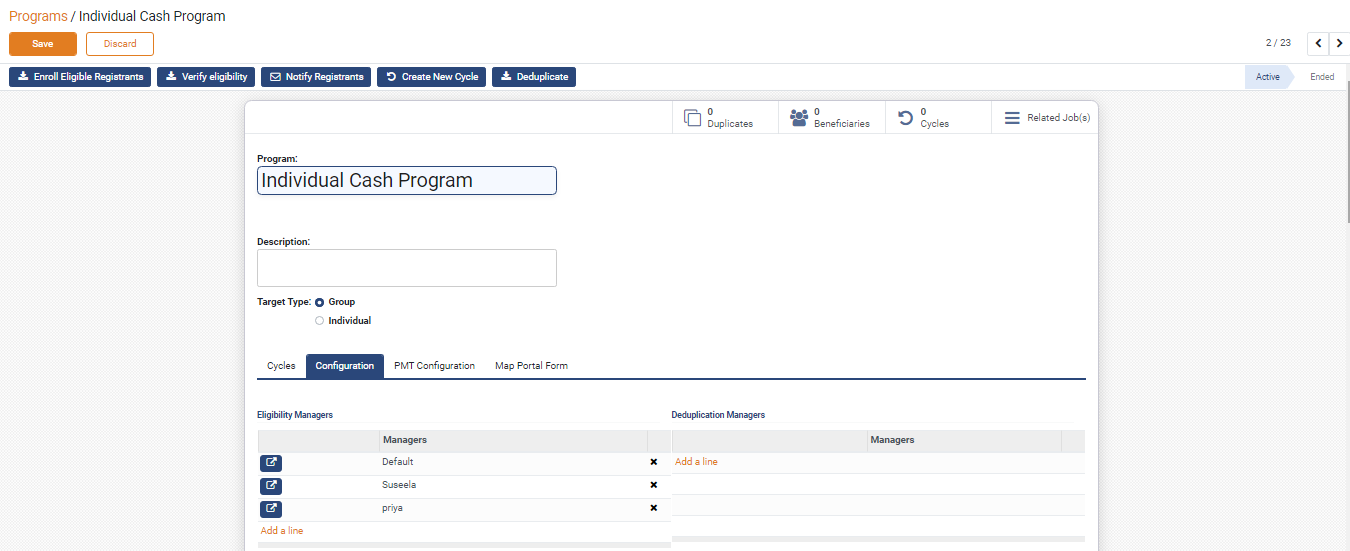
The selected program screen is displayed. For example, here the program selected is Individual Cash Program.
Note:
By default, in the Program field, you can find the selected program name.
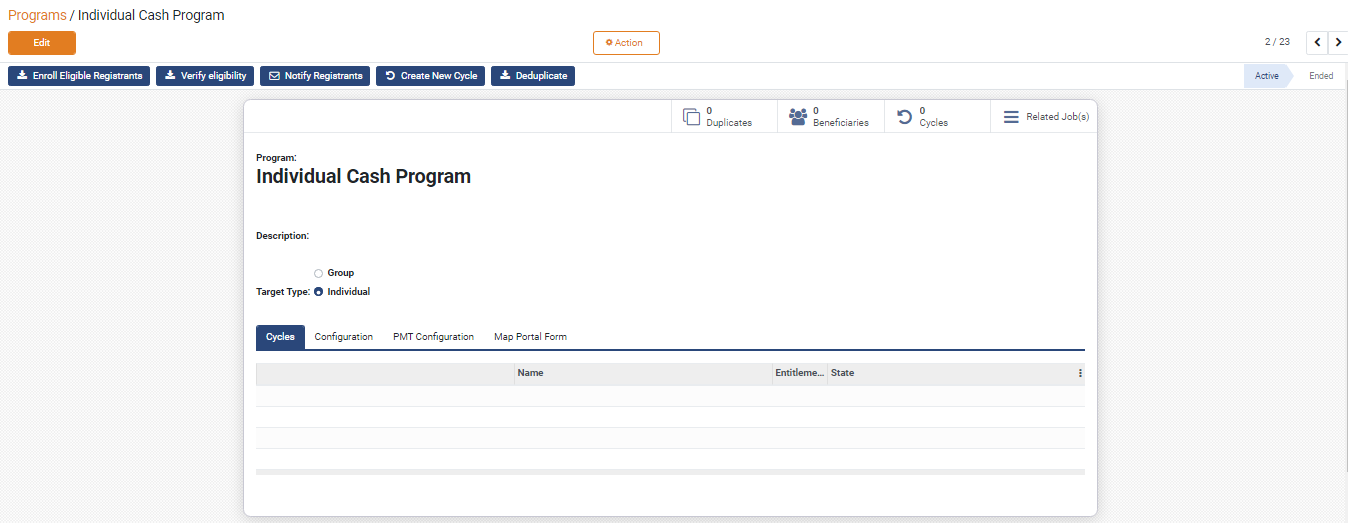
Enter the Description of the program.
Choose one of the _Target Type_s. The values are
Group
Individual
Click the Configuration tab.
Note:
You can configure the required Managers from the available list.
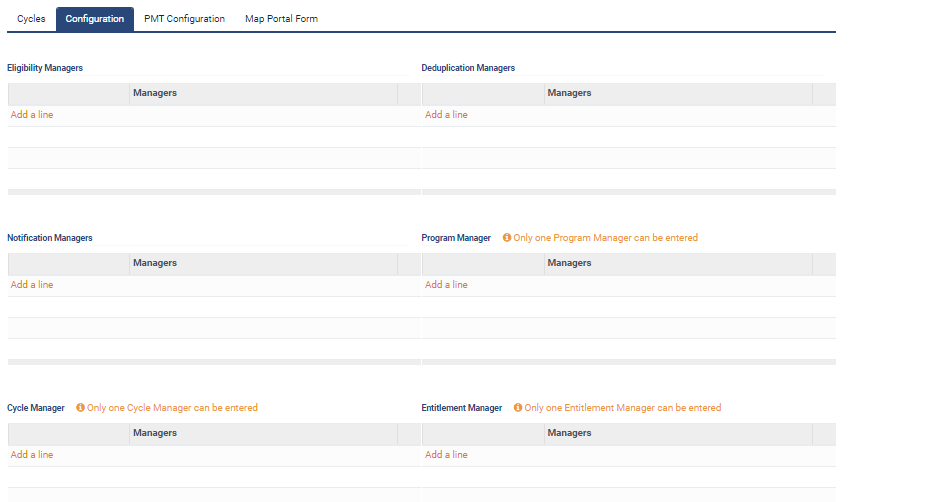
Eligibility Manager configuration
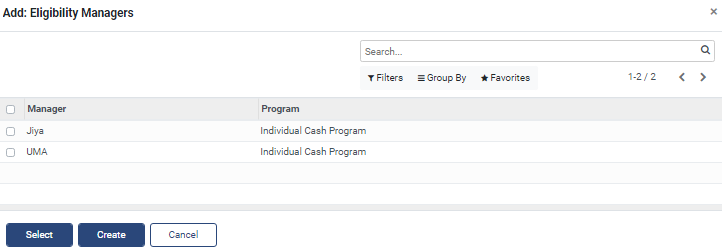
In the Eligibility Managers section, click the link Add a line.
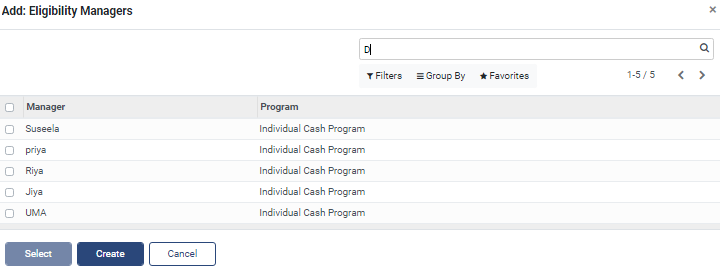
The Add: Eligibility Managers screen is displayed.
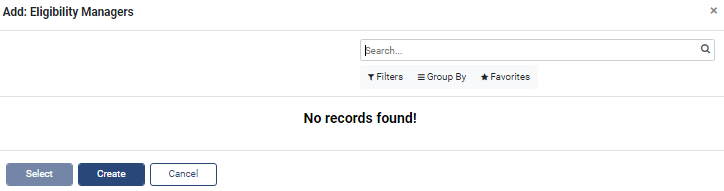
In Add: Eligibility Managers screen, the features and their descriptions are:
Search
This field is filled when the available option are selected in Filers, Group By, Favorites
Filters
Click the Filters link and then select Add Customer Filter.
Add Customer Filter
The advanced filter option allows you to define conditions and criteria to refine the search results.
Select the Add Customer filter and then select the appropriate option in the first drop-down to display the specific data based on the option selected.
Select the criteria in second and third drop-down to refine the search results.
Click the Apply button to display the data based on the search.
Note: To enhance the search, click the Add a condition button and follows the steps given in Add Customer Filter option.
Group by
Click the Group By link, select Add Custom Group and then select the appropriate options in the drop-down to display the specific data based on the option selected.
Click the Apply button to display the data based on the search.
Favorites
Click the Favorites link, select Save current search and then check the appropriate options. The valid values are:
Use by default
Share with all users
Click the Save button to display the data based on the search.
<
Click the Left arrow to go the previous screen
>
Click the Right arrow to go the next screen
Create
Click the Create button to Eligibility Managers
Click the Create button.
The below screen Add: Eligibility Managers screen is displayed.
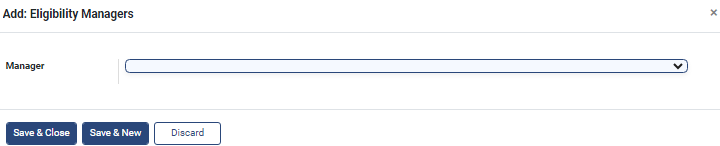
The feature and its description is:
Manager
Select the Manager from the drop-down. The three available managers are:
Default Eligibility
ID Document Eligibility
Phone Number Eligibility
Note:
Once the Manager is selected, an additional field is displayed.
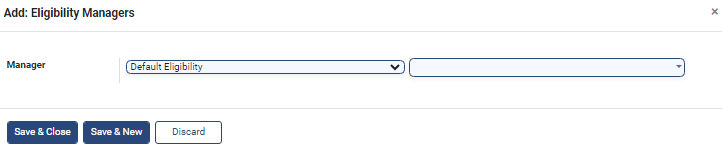
Enter the Eligibility Manager's name in the second field.
Note:
In the drop-down, choose the Eligibility Manager's name, if already available or click the option Start typing to enter the new Eligibility Manager's name.
While entering the new Eligibility Manager's name, a button Create and Edit pops up.
Click the Create and Edit button.
Create: Manager screen is displayed.
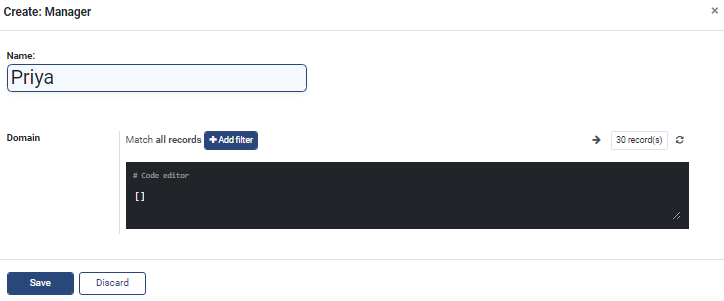
In the Create: Manager screen, the features and their descriptions are:
Name
Enter the name of the Eligibility manager
Domain
Set the eligibility criteria's using Add Filter button on the creation page.
Match all records
Retrieves the data which matches all records
![]()
Click the Records button. The Selected records screen is displayed.
Note:
By default the list of three records are listed in the Selected records screen.
Click the Cancel button to close the Selected records screen.
![]()
Click the Refresh button to refresh the screen
Add filter
Click the Add filter button to set eligibility criteria using Domain Filters. You may set multiple eligibility criteria.
Click the Add filters button. The multiple criteria fields are displayed.
Select the multiple criteria such as ID, condition and count.
Click the x button to remove the entry in the criteria fields.
Click the + button to add new multiple criteria field.
Click the ... option to display fields in Any of section. The multiple criteria fields are displayed.
Note: You can click the ... option to add n number of Any of section
The value chosen in the multiple criteria fields are displayed in the Code editor.
In the Match records chose one of the followings:
Select All to display the data belongs to All section
Select Any to display the data belongs to Any of section
Click the Save button to save the data.
Click the Discard button to exit the screen.
The added new Eligibility Manager is listed in the Configuration tab list.
Click the Save button which will save the eligibility manager to that program under configuration.
Configuration tab - List Eligibility Manager
In the Add Eligibility Manager screen, you can find the list of Eligibility Manager.
Check the required Manager in the list, it enables the Select, Action button. It also shows the number of entries selected.
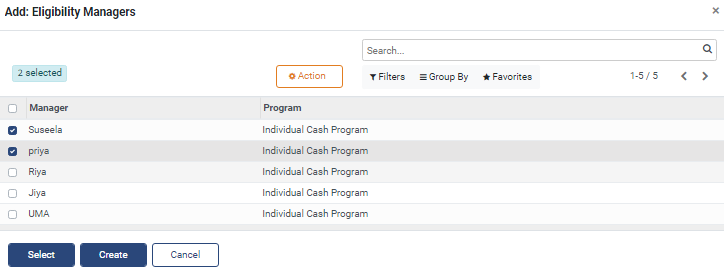
Click the Select button.
The selected Manager will be listed in the Eligibility Manager section below the Configuration tab.

Delete - Eligibility Manager
In the Add Eligibility Managers screen, you can find the list of Eligibility Manager.
Check the required Manager in the list, it enables the Select, Action button. It also shows the number of entries selected.

Click the Action button and then click delete.
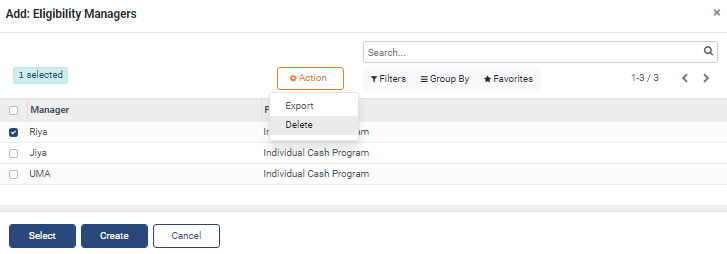
The Confirmation dialog box pops up.
Click the OK button to delete the entry. The selected entry will be deleted
Click the Cancel button to retain the entry.
Last updated
Was this helpful?