

📔Create User and Assign Role
Description
This document contains the step-by-step instructions to create a new user and assign a role. A person who has admin access can create a new user and assign a role.
Prerequisites
A user should have an admin access to create a new user and assign a role.
Procedure
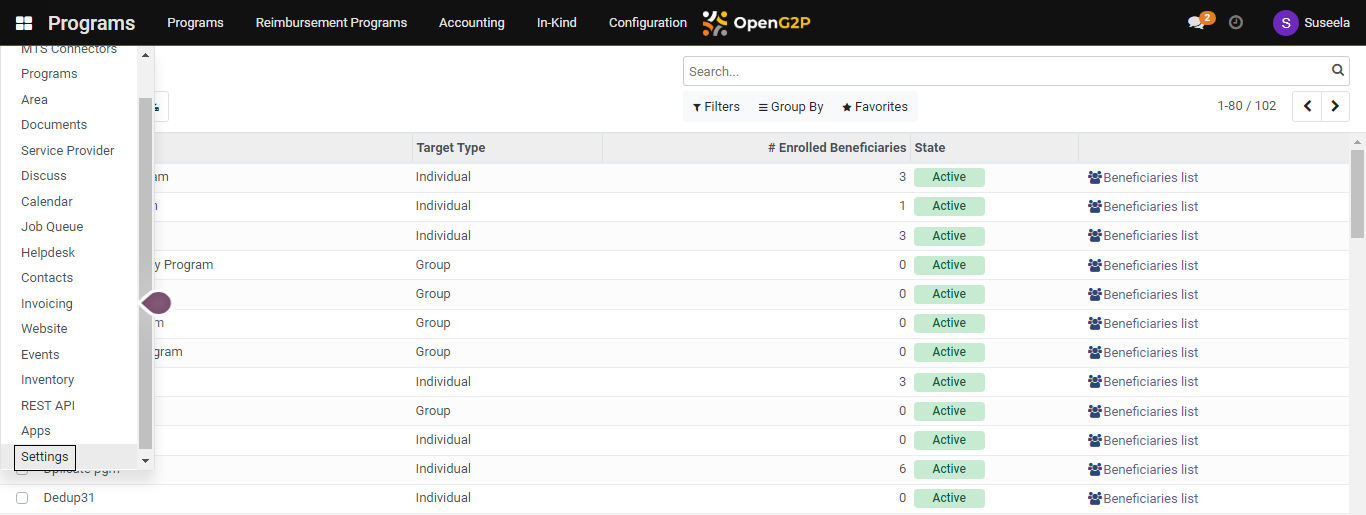
Click the main menu icon
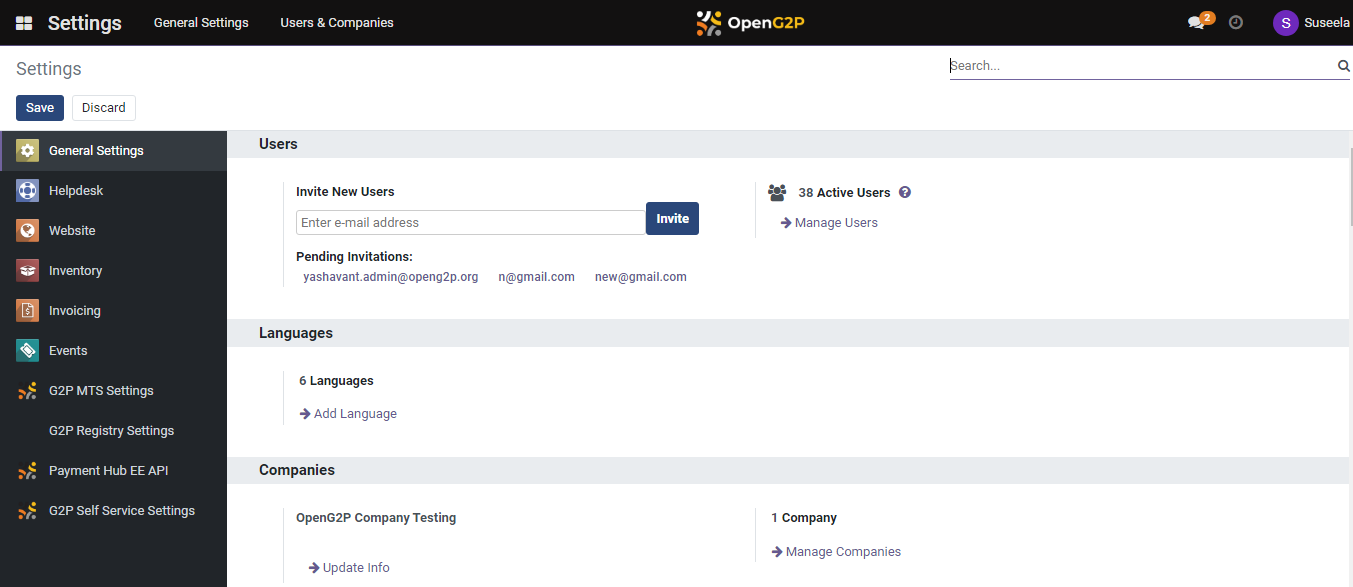
 and select Settings.
The Settings screen is displayed
Click the User & Companies tab and then select Users.
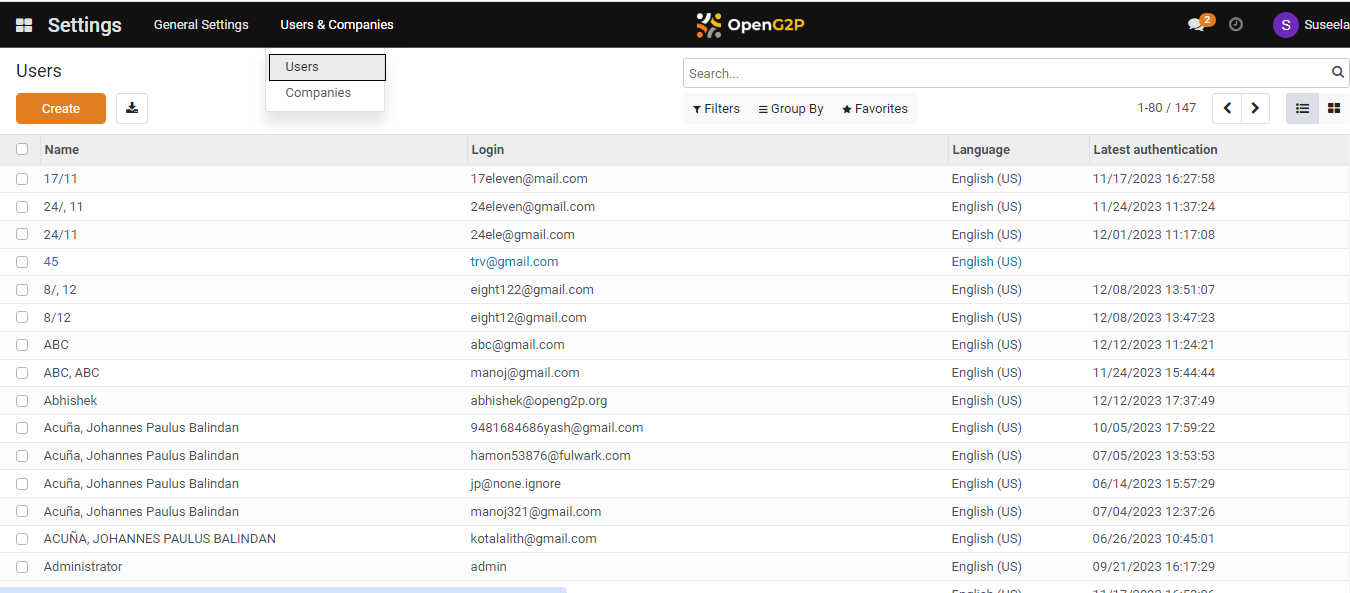
The Users screen is displayed. It is a dashboard which lists the details of all the available Users Name, Login, Language and their Latest authentication.
In Users screen, the available features and their descriptions are:
Create
Click the Create button to create new user
![]()
Click the Export All button to download Users details in excel format
<
Click the Left arrow to go the previous screen
>
Click the Right arrow to go the next screen
![]()
Click the List icon to view the Users details in list view
![]()
Click the Kanban icon to view the Users details in kanban view
Filters
Click the Filters link and select the appropriate options.
The valid values are:
Internal User
Inactive User
Two-factor authentication enabled
Two-factor authentication disabled
Add Customer Filter
The advanced filter option allows you to define conditions and criteria to refine the search results.
Select the Add Customer filter and then select the appropriate option in the first drop-down to display the specific data based on the option selected.
Select the criteria in second and third drop-down to refine the search results.
Click the Apply button to display the data based on the search
Note: To enhance the search, click the Add a condition button and follows the steps given in Add Customer Filter option
Group By
Click the Group By link, select Add Custom Group and then select the appropriate options in the drop-down to display the specific data based on the option selected.
Click the Apply button to display the data based on the search
Favorites
Click the Favorites link, select Save current search and then check the appropriate options. The valid values are:
Use by default
Share with all users
Click the Save button to display the data based on the search
Search
This field is filled when the available option are selected in Filers, Group By, Favorites
Click the Create button. The Users/New screen is displayed.
In Users/New screen, the available features and their descriptions are:
Name
Enter the new user name
Email Address
Enter the valid email Id. of the user. The invitation email will be sent to this email address.

Select the icon, click the edit icon and then navigate to the user photo where it is stored
Export the user photo
Click the delete icon to delete the user photo
Save
Click the Save button to save the data
Discard
Click the Discard button to close the Users / New screen
Access Right
OpenG2P offers several modules and tools to digitize processes of social benefit delivery chain. A user who has admin rights provides access rights to an individual based on his/her role to use modules offered by OpenG2P. This allows the individual to know which module they can use based on their roles.
Click the Access Rights tab.
The features available in Access Rights tab are displayed.
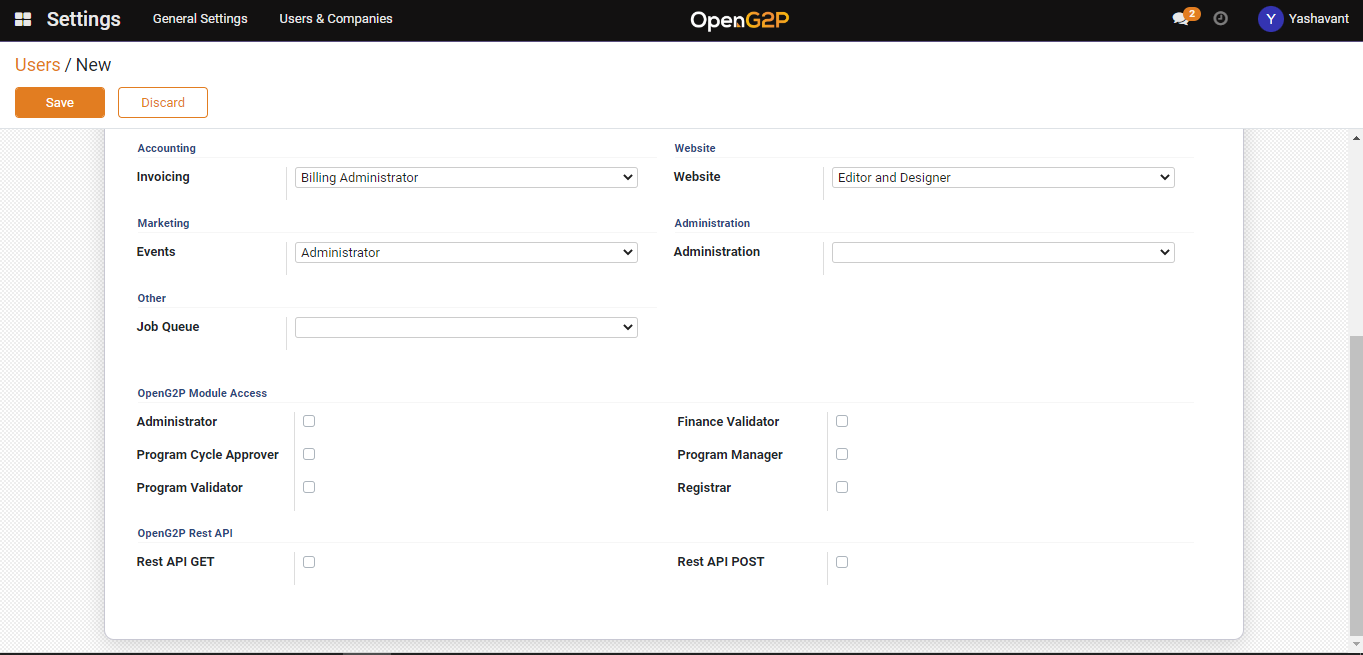
In Access Rights tab, the available features and their descriptions are:
Accounting
Invoicing
Select the appropriate role in the drop-down. The valid values are:
Billing
Billing Administrator
Inventory
Inventory
Select the appropriate role in the drop-down. The valid values are:
User
Administrator
Website
Website
Select the appropriate role in the drop-down. The valid values are:
Restricted Editor
Editor and Designer
Marketing
Events
Select the appropriate role in the drop-down. The valid values are:
Registration Desk
User
Administrator
Administration
Administration
Select the appropriate role in the drop-down. The valid values are:
Registration Desk
User
Administrator
Other
Helpdesk
Select the appropriate role in the drop-down. The valid values are:
User: Personal tickets
User: Team ticktets
User
Helpdesk Manager
Job Queue
Select the appropriate role in the drop-down. The valid value is:
Job Queue Manager
OpenG2P Module Access
Check the appropriate role. The valid values are:
Administrator
Finance Validator
Program Cycle Approver
Program Manager
Program Validator
Registrar
Support Person
OpenG2P Documents Module
Check the appropriate option. The valid values are:
Document Admin
Document Write
Document Read
OpenG2P Rest API
Check the appropriate option. The valid values are:
REST API GET
REST API POST
Other
Check the appropriate option. The valid values are:
View Server Environment Configuration
Save
Click the Save button to save the data
Discard
Click the Discard button to close the Users / New screen
Preference
The admin user sets the user preference in the preference section.
Click the Preference tab. The features in Preference tab are displayed.
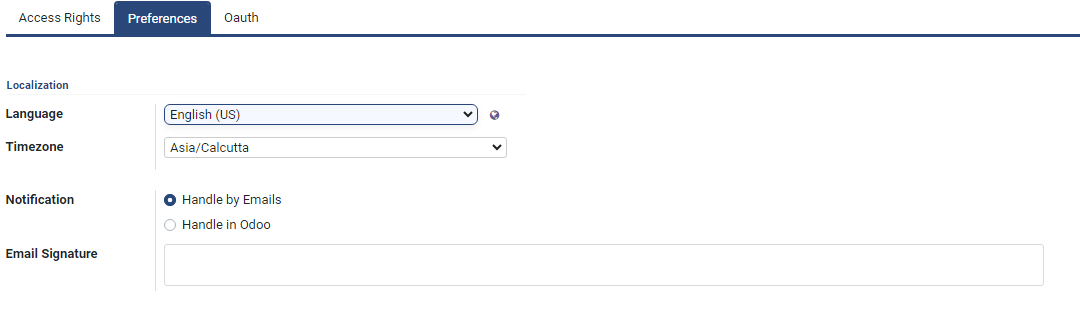
In Preference tab, the features and their descriptions are:
Localization
Language
Select the user preferred language in the drop-down.
Timezone
Select the user preferred timezone in the drop-down.
Notification
Click the appropriate radio button.
Handle by Emails
Handle in Odoo
Email Signature
Enter the User Email Signature
OAuth
OAuth is the preferred method of authentication to access the OpenG2P documents and modules. The external application gets a token which authorizes access to documents and modules of OpenG2P. All the documents and the modules are secured/protected using Standard OAuth.
Click the OAuth tab. The features available in OAuth are displayed.

In OAuth tab, the available features and their descriptions are:
OAuth Provider
Select the appropriate option in the drop-down. The valid values are:
eSignet MOSIP Collab
Facebook Graph
Google OAuth2
Odoo.com Accounts
Start typing - Type the OAUth provider, if you have OAuth provider other than the one mentioned above
OAuth User ID
Enter the OAuth user ID
OAuth Access token
Enter the valid Access token
Last updated
Was this helpful?