

📔Create Default Entitlement Manager
Description
This guide provides steps to create the default entitlement manager.
Prerequisites
The user must have the Program Administrator role.
Steps
Navigate to Programs using the menu bar.

Click on Configuration.

Select Default Entitlement Managers from the drop-down list.

In the Entitlement Managers view, click on Create.

Enter the details.
Name: Enter the name of the manager.
Program: Select the program from the drop-down list
Amount Per Cycle: Enter the amount per cycle.
Amount Per Individual in Group: Enter the amount each individual in the group is entitled to.
Currency: Enter the currency used for transactions.
Maximum Number of Individual in Group: Enter the maximum number of group members.
Transfer Fee (%): Enter the percentage of fees required for carrying out the transactions.
Transfer Fee Amount: Enter the amount required for carrying out the transactions.
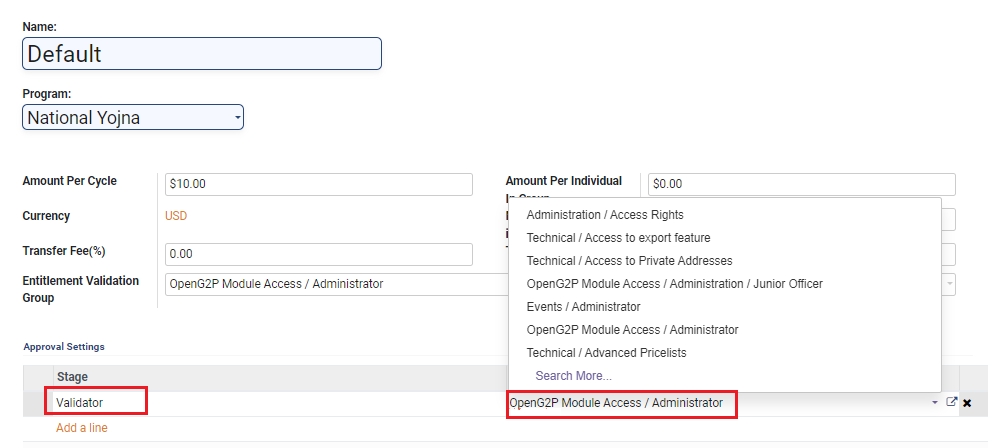
Entitlement Validation Group: Select the validation group from the drop-down list.
If you wish to add multiple managers for entitlement approval then click on Add a Line in the Approval Settings section_._
Note: This step and the next step should be skipped if multiple managers are not required for entitlement approval.

In Approval Settings, enter a name for the stage, and select the Group from the drop-down list.
Click on Save.
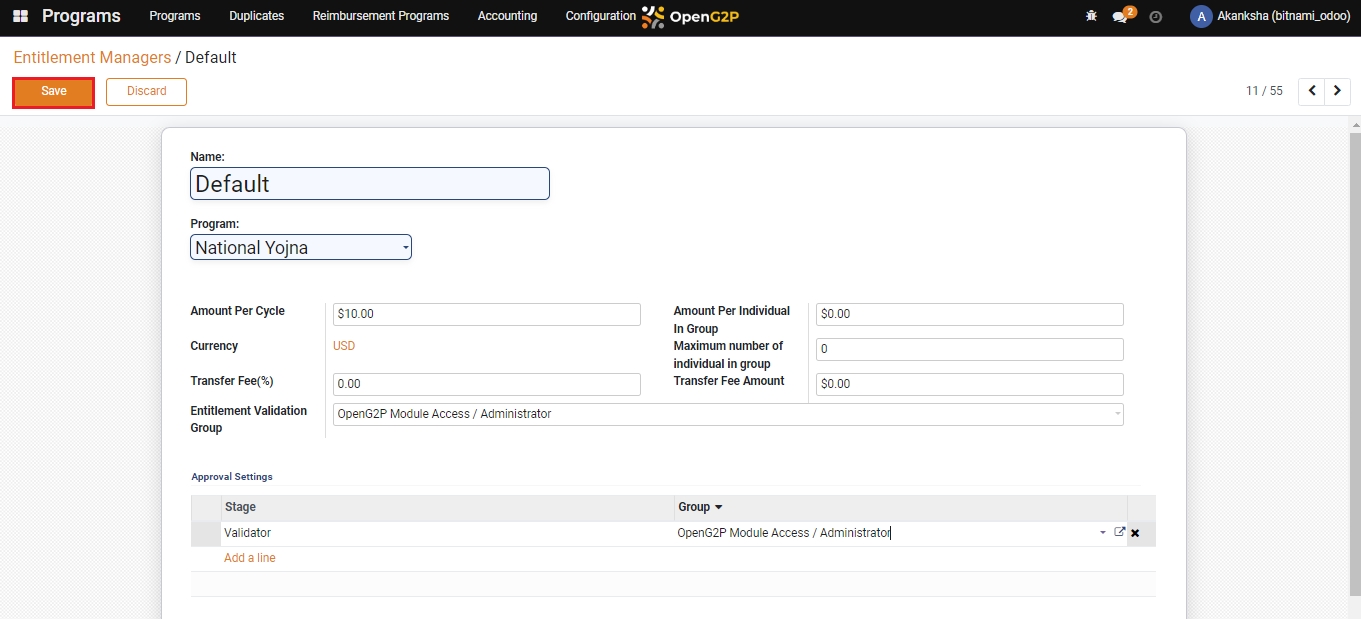
The manager gets added to the list of Entitlement Managers.

Last updated
Was this helpful?