

Create Cash Payment Manager
Description
This guide provides the steps to configure the Cash Payment Manager.
Pre-requisites
The user should have a Program Administrator role.
Steps
Navigate to Programs using the menu bar.
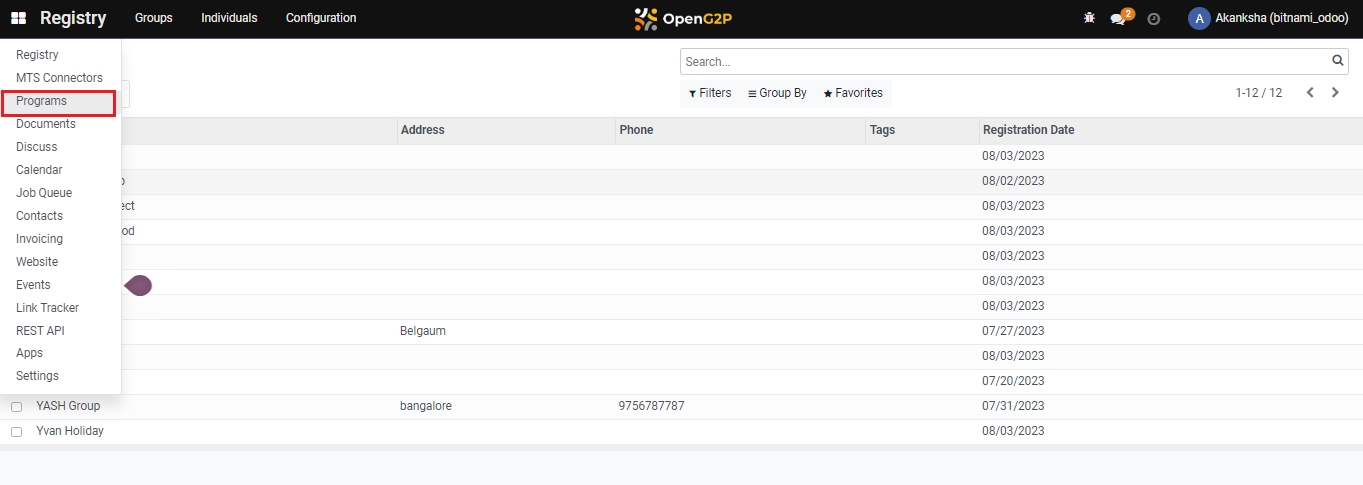
Click on Configuration.
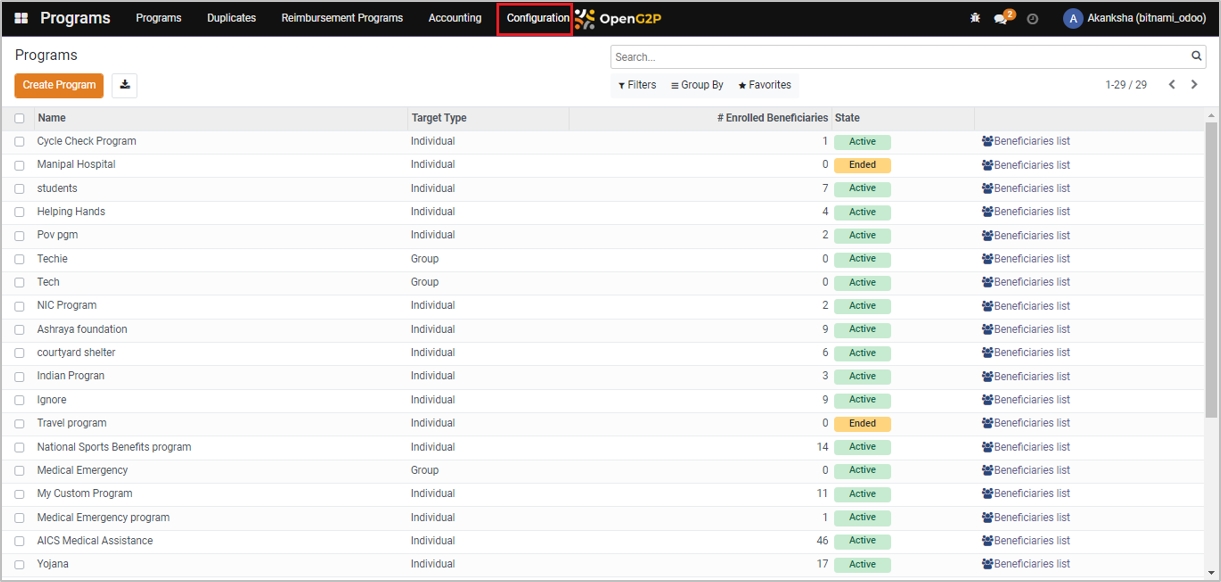
Select Cash Payment Managers from the drop-down list.

Click on Create.

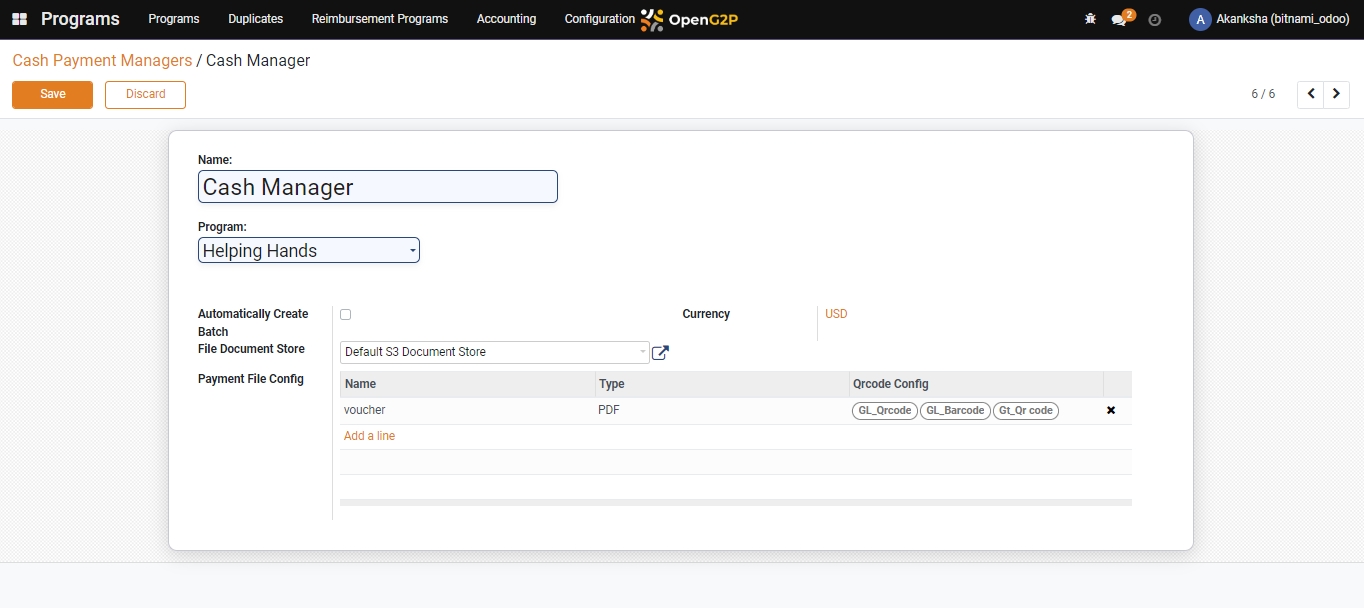
Enter the details.
Name: Name of the manager
Program: The program that will use this Payment Manager
Automatically Created Batch: If enabled, the system creates batches automatically
Currency: Currency used for beneficiary payment
File Document Store: The type of storage used for the payment file
Payment File Config: The name of the payment file
The payment file is configured based on the state of the Automatically Created Batch checkbox:
Disabled: Only one payment file is associated with this payment manager and configured using the Payment File Config dropdown. Go to step#6.
Enabled: Each batch has one payment file configured as part of the Batch Tags configuration. In this case, the Batch Tags configuration replaces the Payment File Config dropdown. Go to step#9.

Click on Add a Line under the Payment File Config.

Select the file and click on Select.
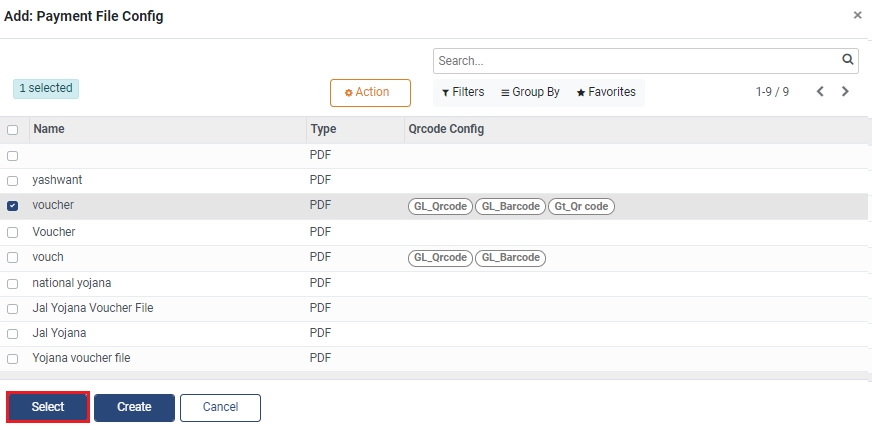
Click on Save and go to step#14.
Click on Add a Line in Batch Tags configuration.

A dialogue box appears. Click on Create.

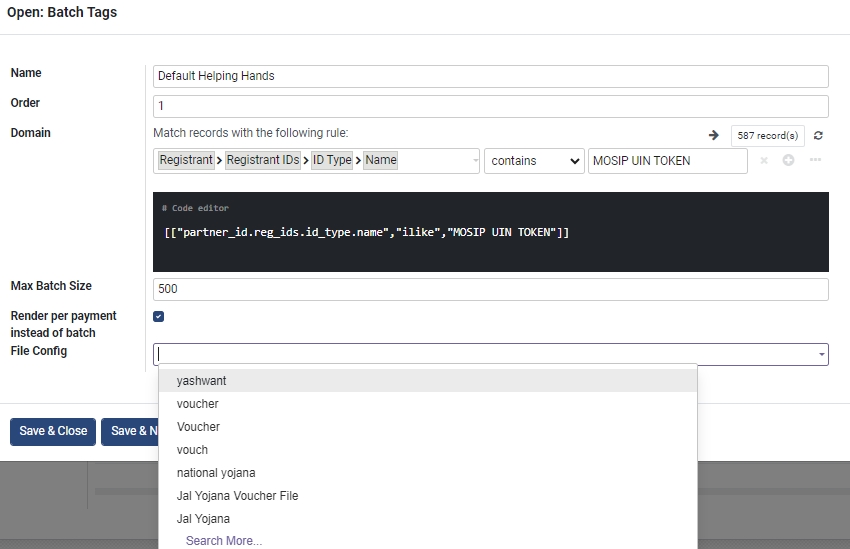
A new pop-up window appears. Enter the details.
Name: The name of batch tags
Order: The order number of this batch during sequential execution of the batches
Domain: Filter to add the criteria for this batch
Max Batch Size: Maximum number of payment entries in the batch
Render per payment instead of batch: If enabled, the payments are rendered individually instead of in a batch
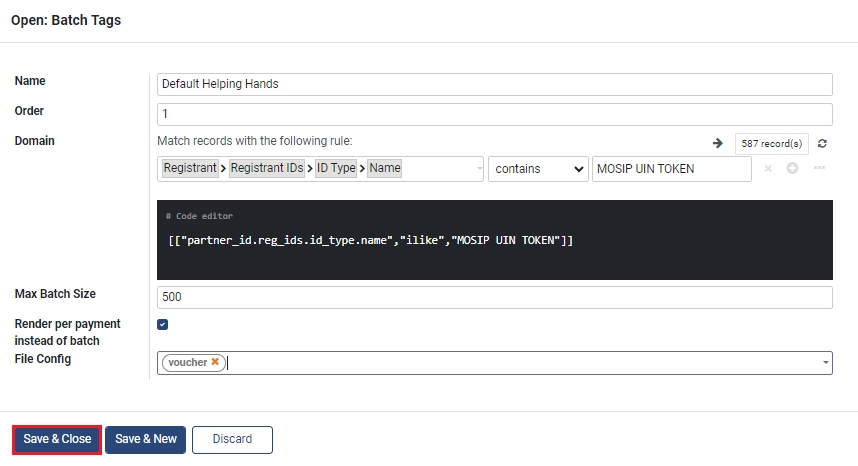
File Config: Name of the payment file for this batch
Click on Save & Close.
Click on Save.

A new Cash Payment Manager is created and added to the list.

Last updated