

Create Email Notification Manager
Description
This guide will provide the steps to create an Email Notification Manager.
Pre-requisites
The user should have a Program Manager role assigned.
Steps
Navigate to Programs using the menu bar.
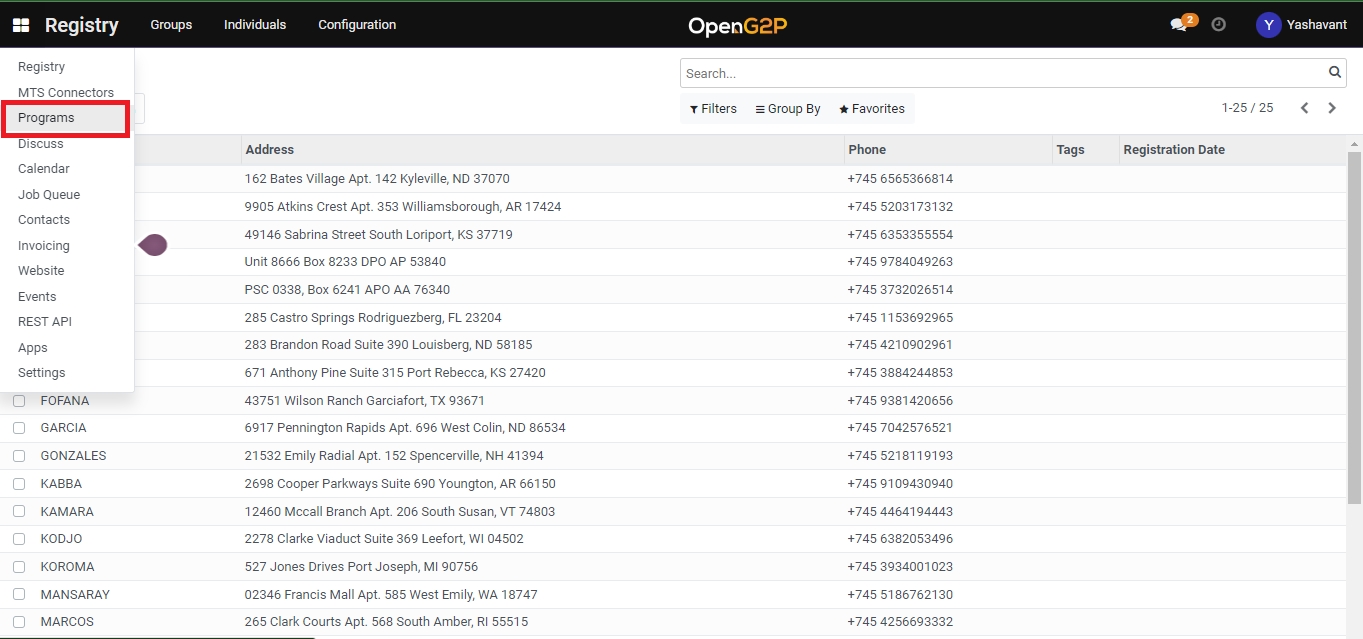
Click on Configuration and select Email Notification Manager.

Click the Create button to go to the Email Notification Managers view.
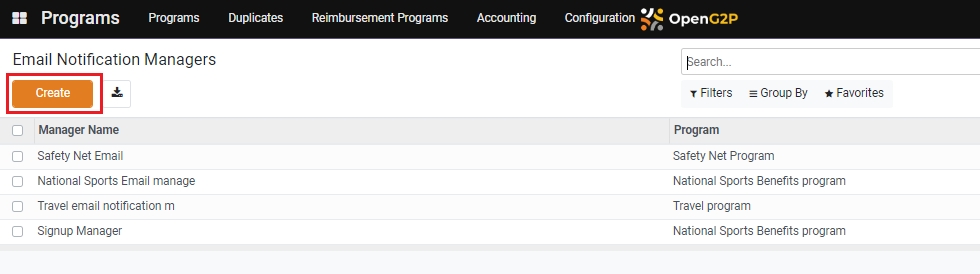
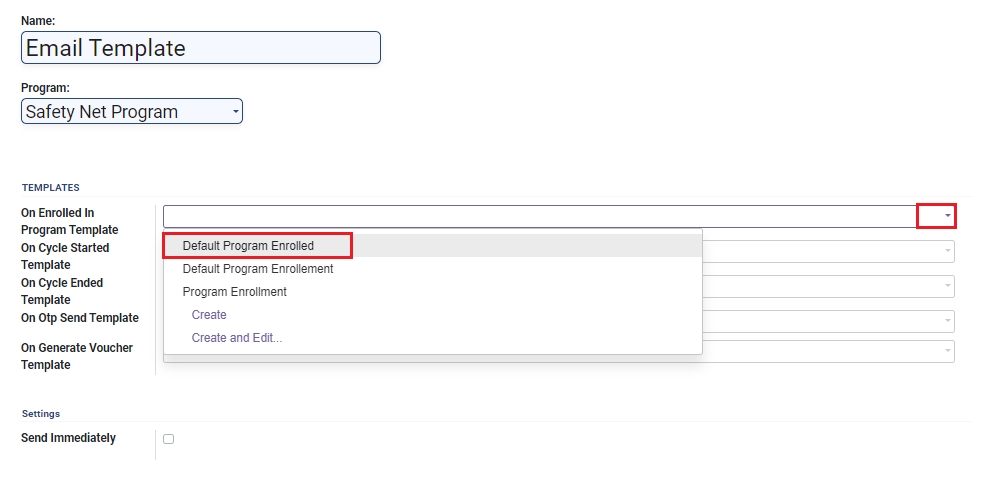
Enter the Name and Program in the Email Notification Managers view.

The view allows the configuration of a template for each of these event types:
On Enrolled In Program Template
On Cycle Started Template
On Cycle Ended Template
On Otp Send Template
On Generate Voucher Template

There are two ways to configure a template for an event:
a. Use an existing template: Go to step#6.
b. Create a new template: Go to step#7.
Click on the drop-down button and select the template from the drop-down list. Go to step#11.
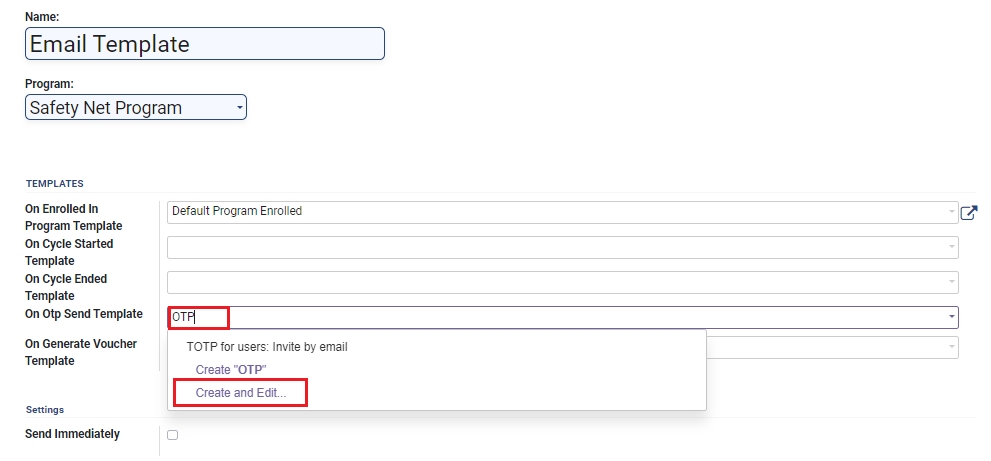
Enter a name for the new template. When a non-existing template name is entered, the option Create and Edit appears. Click on this option_._
A new dialogue box appears. Enter the details.
Name: Name of the template
Applies to: Applicable context; For example, the option Contact sends the mail to the beneficiary email
Content: Subject and matter for the email written using the Odoo platform's QWeb templating engine
Attachments: Attachments to be sent with the email

Click on the Email Configuration sub-tab.
From: Author's email id
Default Recipients: Enable the box to send email to default recipients
To (Emails): Recipient email address
To (Partners): Comma-separated emails of the program partners
Cc: Comma-separated emails of the recipients to be copied for this email
Reply To: The email that the recipient can reply to
Scheduled Send Date: The date on which the mail will be sent

Click on the Advanced Settings sub-tab.
Language: Language for the content
Outgoing Mail Server: Outgoing mail server
Auto Delete: If enabled, the email is deleted automatically
Optional report to print and attach: Optional field for reports

Optionally, enable the checkbox Send Immediately to send the email notification to beneficiaries immediately after the program enrollment, at the start of the cycle, and at the end of the cycle.

Click on Save.
Last updated