For example, here, the project is considered as Safety Net Program.
Click the project (Safety Net Program) link listed below the Projects.
The project (Safety Net Program) overview page is displayed.
Safety Net Program
5. Click the form available below the Forms.
For example, here the form selected is Safety Net Program.
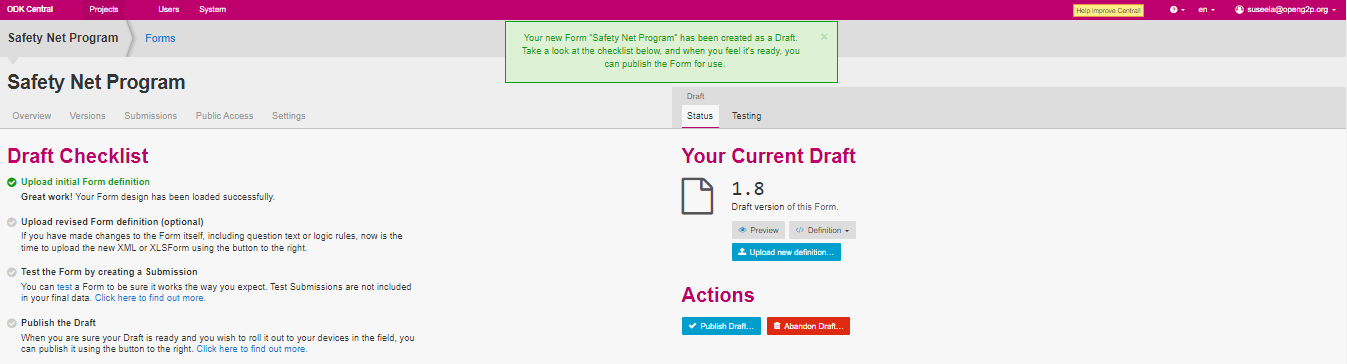
The Safety Net Program Forms screen is displayed.
In the Draft section, you can find two tabs.
Status
Testing
Status - Actions
In the Status tab, you can publish and delete form in Actions section.
Click the Publish button.
Publish Draft screen pop-ups. Read the instruction and click the Proceed button.
Publish Draft
Note:
If you have not tested the form for submission before publishing, the below screen pops up. Take the required necessary action and click the Proceed button.
Publish Draft
Again Publish Draft screen pops up. Read the instruction and change the version number of the form in the version field.
Click the Proceed button.
Publish draft
A message pops up which provides the status of the form.
The updated draft version is now published.
Safety Net Program published
Click the Version tab to find the published version of the form.
Safety Net Program - Version
This completes the process of publish a form in ODK Central.