

📔Self Register Online
Description
This document provides step-by-step instructions for beneficiaries to self-register via beneficiary portal.
Prerequisites
The user must have valid credentials (Email ID and password).
The user must have must have the MOSIP-issued national ID.
Procedure
Open the beneficiary URL on your browser, for example, https://selfservice.sandbox.your.org
Note:
You must modify the URL https://selfservice.sandbox.your.org based on your installation hostname. The beneficiary must Sign Up to register his/her details. After registration, the beneficiary can login using the login credentials.
Beneficiary portal page is displayed.
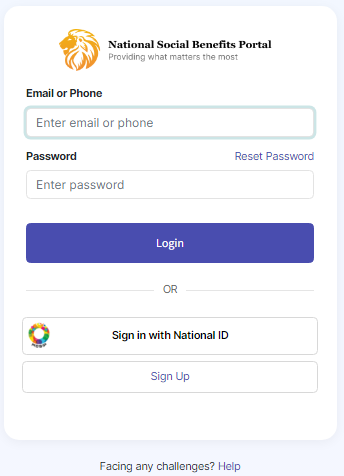
Sign Up
Click the Sign Up button.
Sign Up page is displayed.
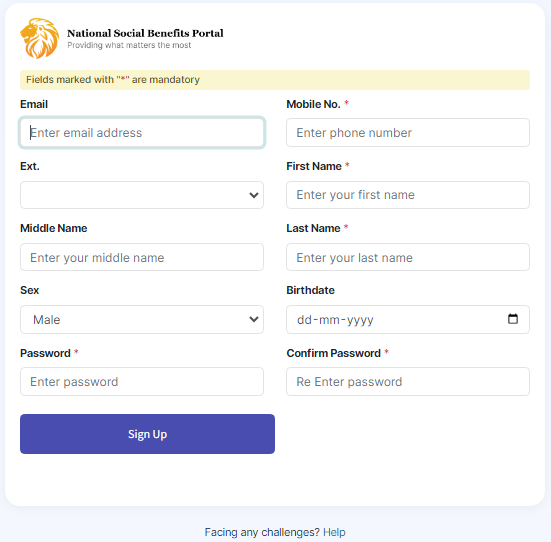
In Sign Up page, the fields and descriptions are:
Enter the email address. It is a mandatory field.
Mobile No.
Enter the mobile no. It is a mandatory field.
Ext.
Enter the ext.
First Name
Enter the first name. It is a mandatory field.
Middle Name
Enter the middle name.
Last Name
Enter the last name. It is a mandatory field.
Sex
Select the appropriate option from the drop-down
Birthdate
Choose the birthdate from the calendar widget.
Password
Enter the password. It is a mandatory field.
Confirm Password
Re-enter the password. It is a mandatory field.
Click the Sign Up button.
You will receive a verification mail in your email id which is used for Sign Up.
Click the Verify link in you verification mail.
You will receive a message, Your email id is successfully verified. This completed the sign up process.
Login
Login page of self-service portal for beneficiaries is displayed.
There are two options available to login self-service portal.
Login with your credentials (email id, password)
Sign In with MOSIP
Login with credentials
Enter the Email ID.
Enter the Password.
Click the Login button.
(OR)
Sign In with MOSIP
Click the Sign IN with MOSIP button.
Login with eSignet page is displayed.
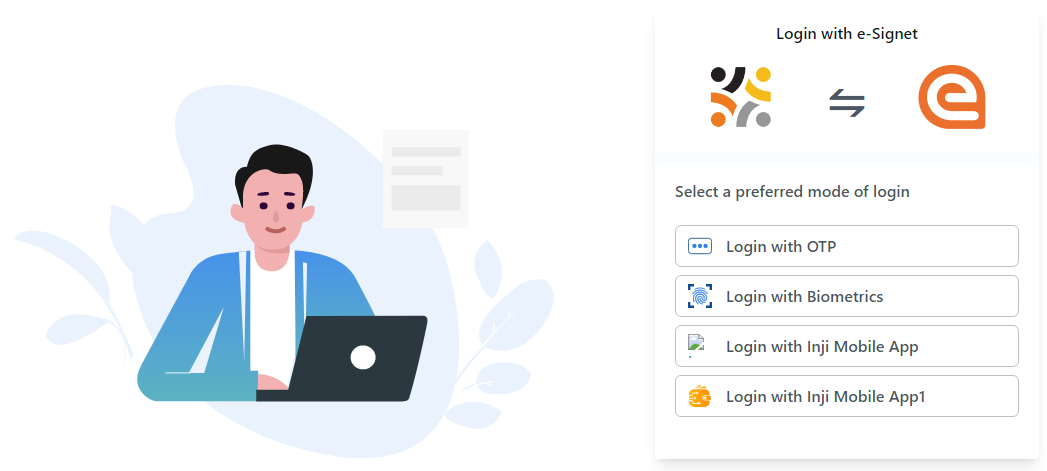
You can select your preferred mode of login.
Login with Biometrics
Login with Inji Mobile App
Login with Inji Mobile App1
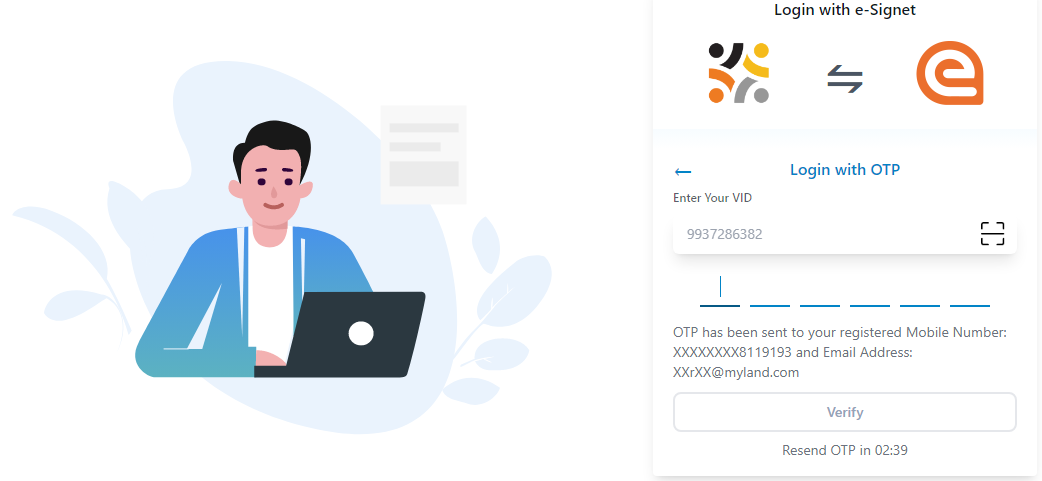
Login with OTP
Click the Login with OTP button.
Login with OTP page pops up.
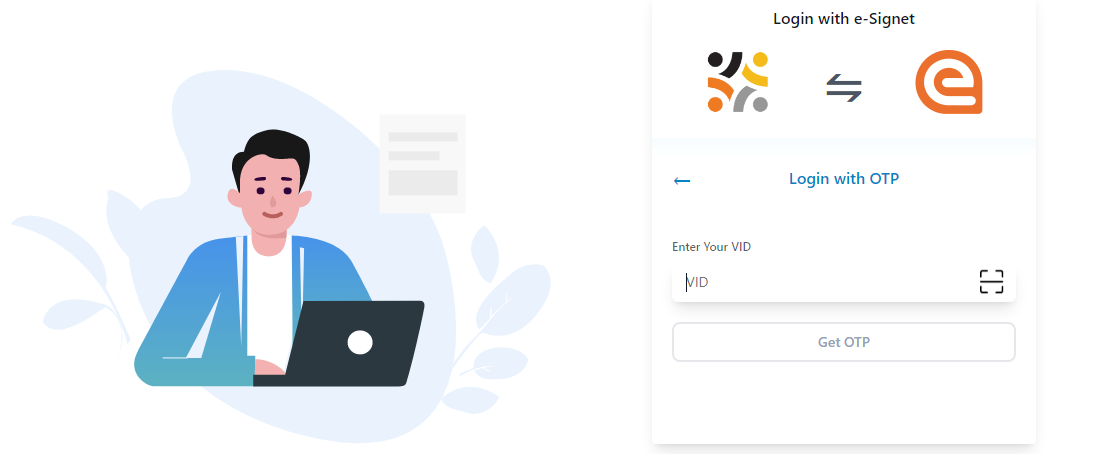
Enter the VID number and click the Get OTP button.
You receive the OTP number in your registered phone number.
Enter the OTP number and click the Verify button.
My application page is displayed.
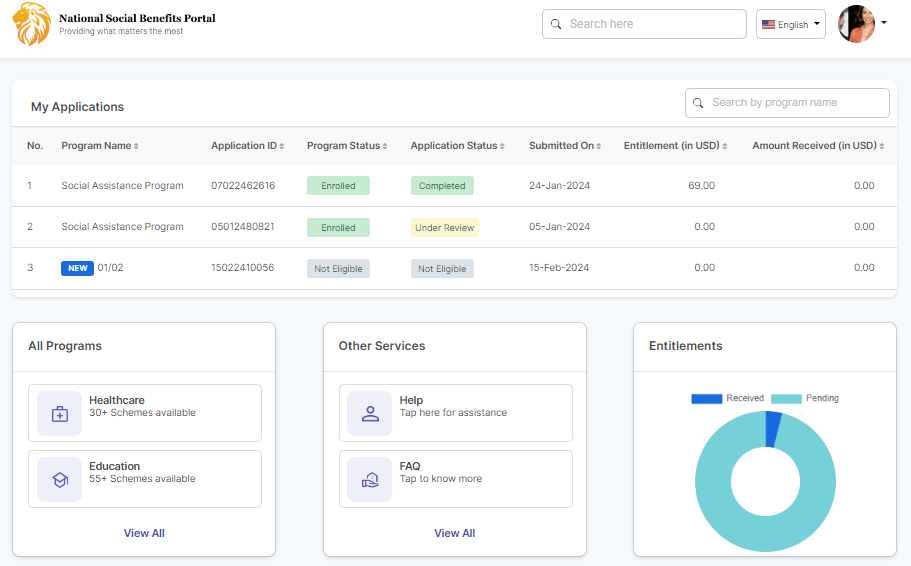
My application displays the program details of the beneficiary.
Program Name
Displays the program name
Application ID
Displays the application ID
Program Status
Displays the program status
Application Status
Displays the application status
Submitted on
Displays the application submitted on date
Entitlement (in USD)
Displays the entitlement details
Amount Received (in USD)
Displays the amount received by the beneficiary
All Programs
Click the View All button in the All Programs tab.
All Programs page is displayed.

In All Programs, the available fields and descriptions are:
Click the Apply button.
Application Form page is displayed.

In Application Form, the available field and description are:
Household Id
Enter the household ID of the beneficiary.
It is a mandatory field.
Household size
Enter the household size of the beneficiary.
It is a mandatory field.
No. of children
Enter the number of children of the beneficiary. It is a mandatory field.
Own home?
Select the appropriate option from the drop-down. The valid values are:
Yes
No
It is a mandatory field.
Size of home (sq. ft)
Enter the size of home in square feet.
It is a mandatory field.
Employment status
Select the appropriate option from the drop-down.
You can find the program name and program expiry details in the application form.
Click the Submit button to submit the application form.
Click the Cancel button to cancel.
After the application is submitted successfully, you will receive a confirmation message on submitted program.

Once the program form is submitted, the program will be added to the My Programs section with the Submitted status and the beneficiary will be registered to the program. You can find the details in the OpenG2P Registry Individual as well.


Last updated
Was this helpful?